
An easy to understand guide for beginners who are interested in buying a shipping container.

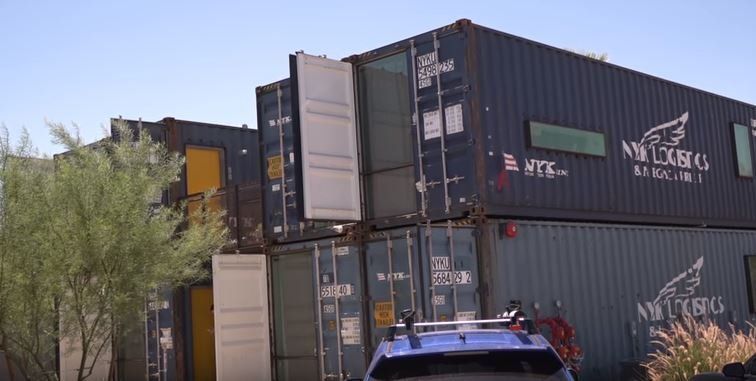
A fascinating story about two Phoenix architects that built an amazing 8 room apartment complex out of 16 cargo containers.
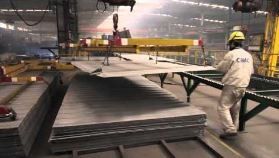
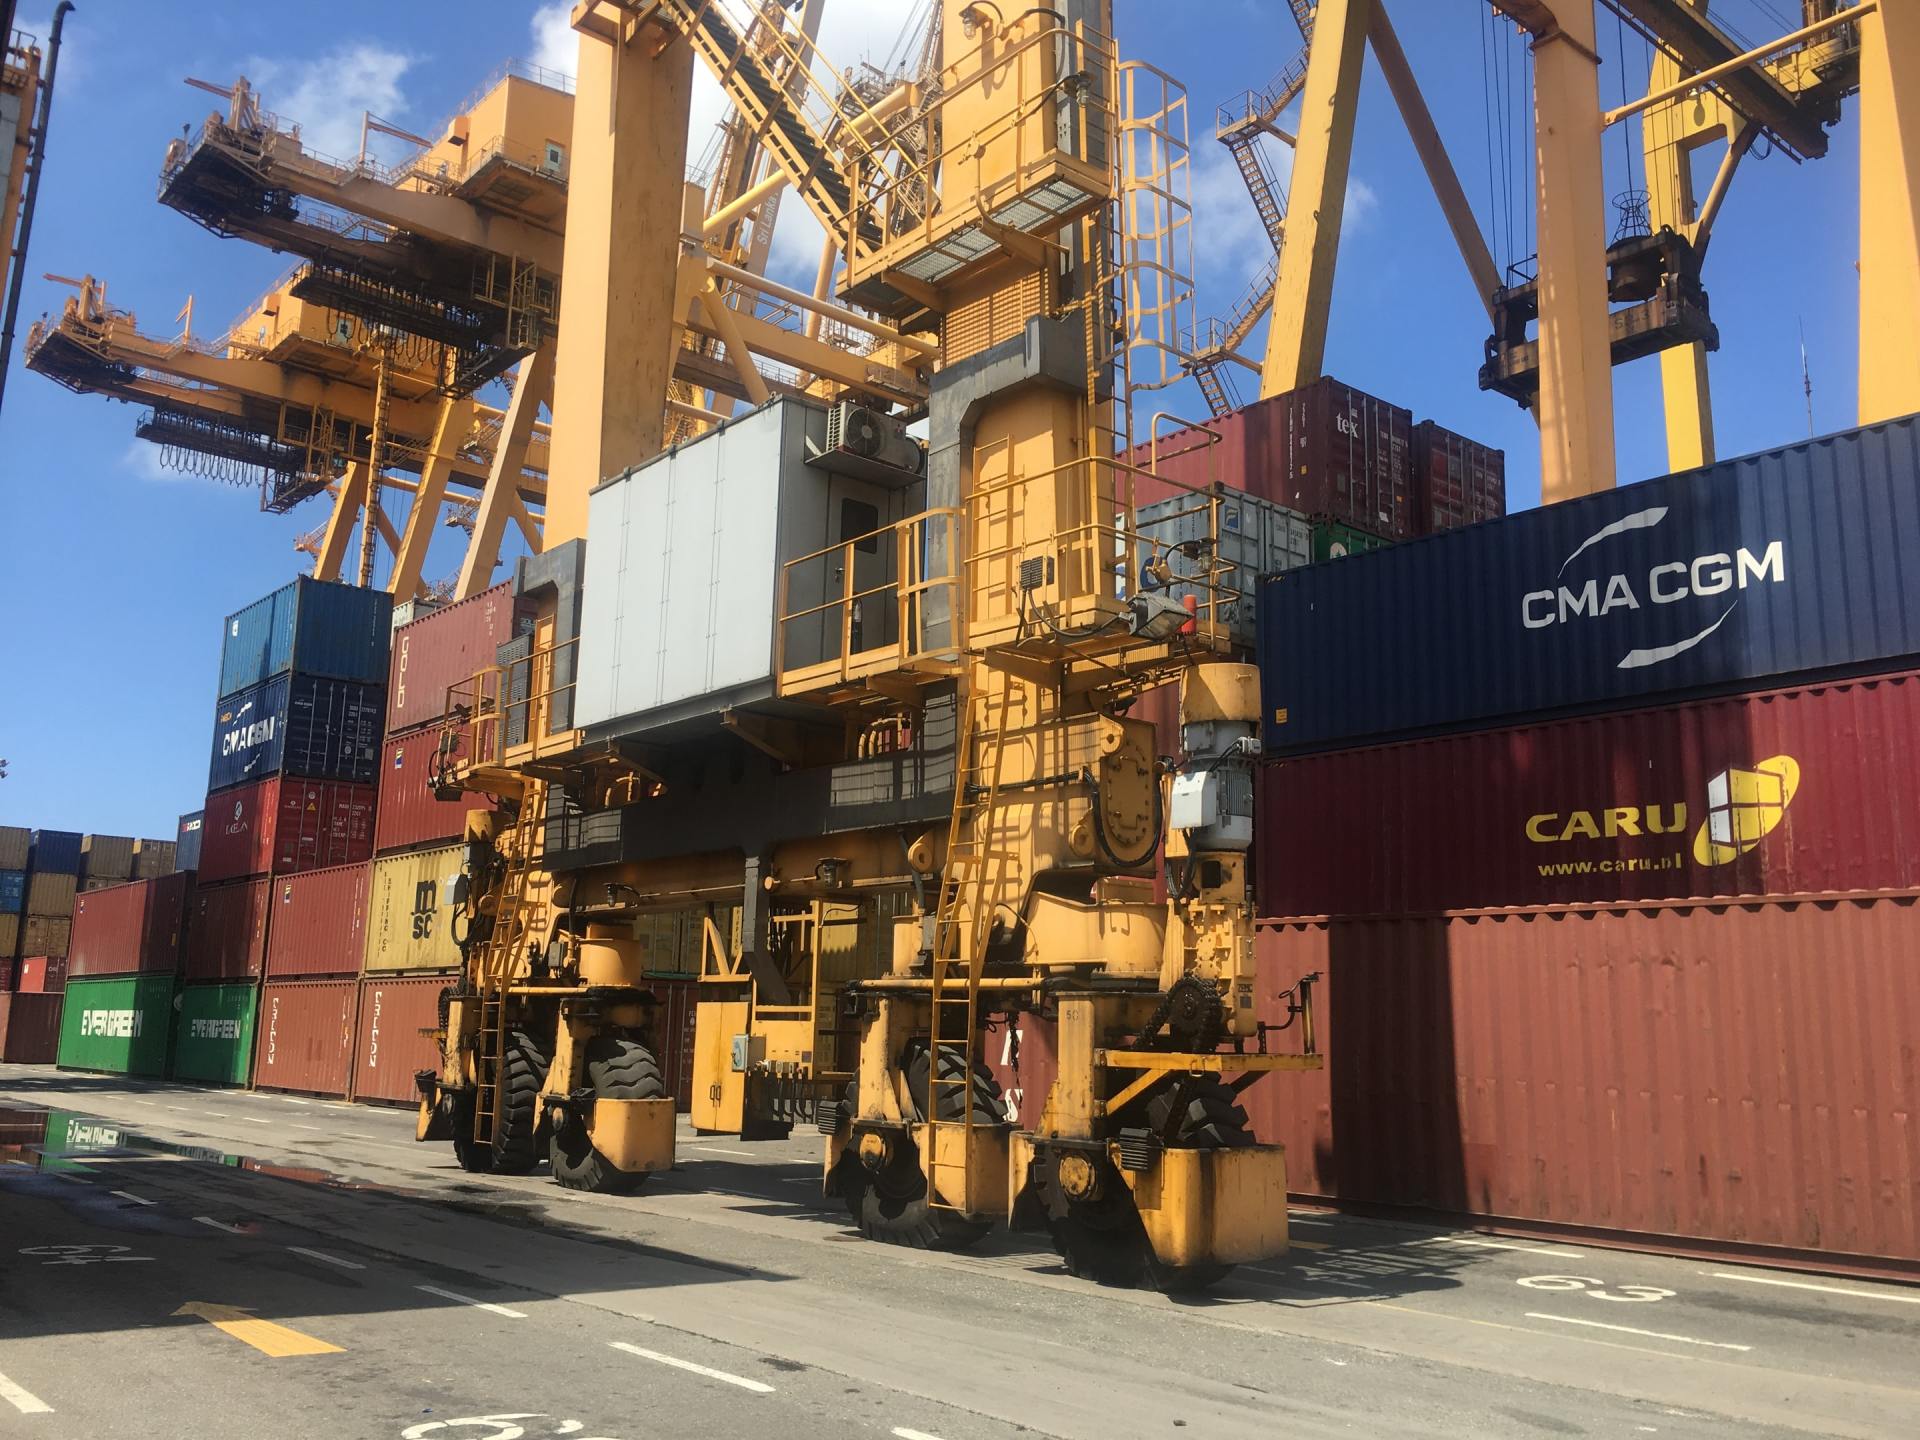
Watch manufacturers in China produce cargo containers from start to finish.

I really love this new trend of utilizing shipping containers to express art. I was inspired after reviewing a number of container based art projects, to put together a compilation of the brilliance behind this trend. I admire the imagination that was used by the artists and applaud them all.The thing I love most about shipping container art is that it is a super creative use for the large number of shipping containers that rest unused and abandoned in Container Depots (click to view an old blog on what a container depot is) throughout the United States.Why not use these boxes to express creativity and to brighten someone else's day. I hope you enjoy the video and dream on!
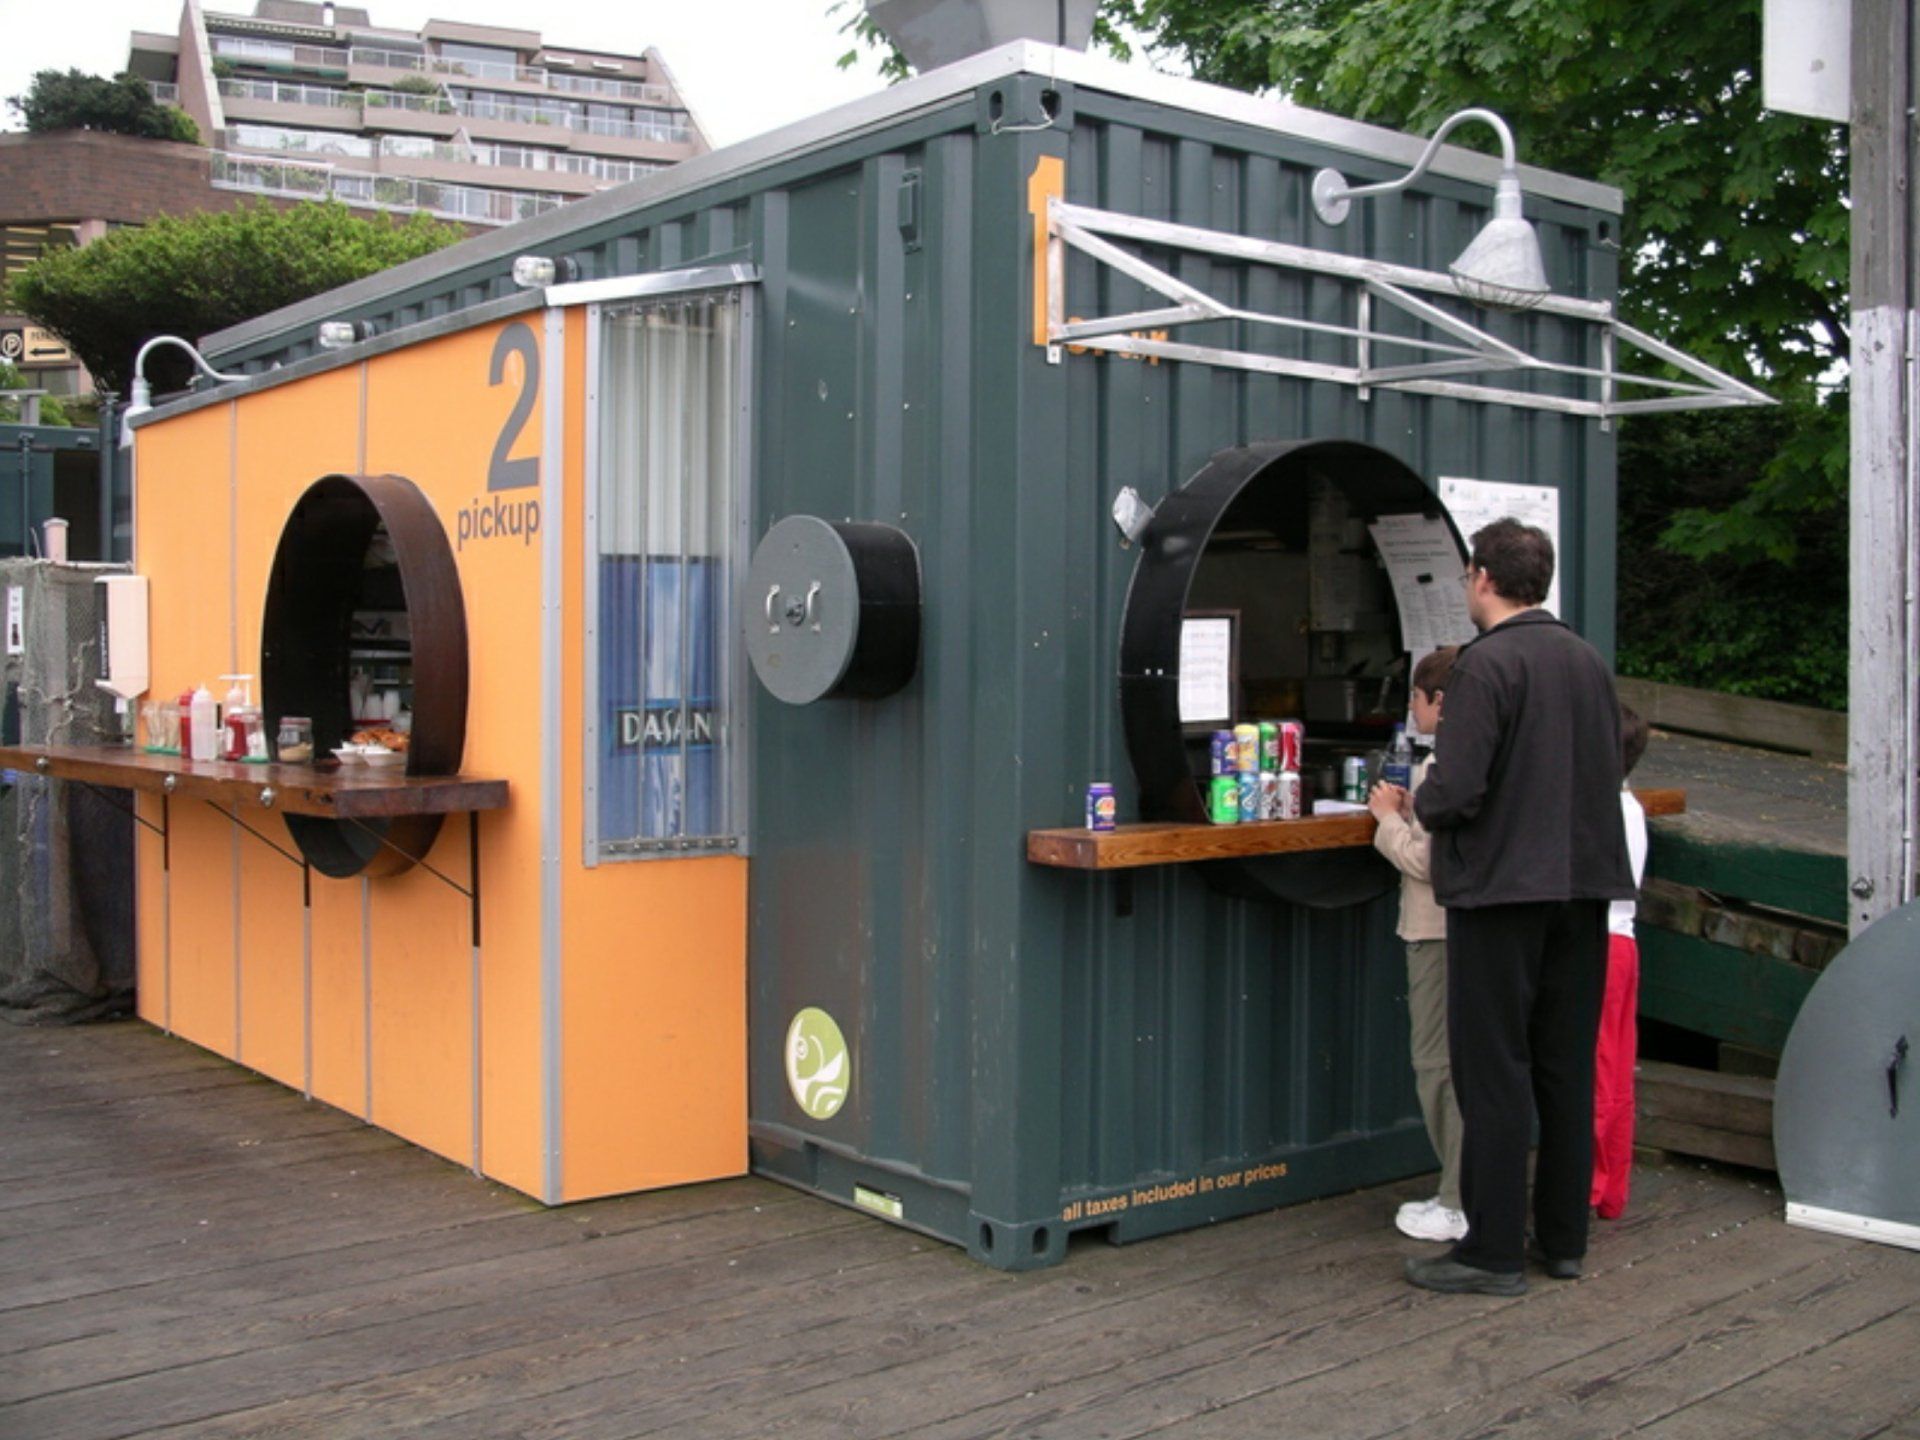
Shipping Containers make excellent building blocks.A recent trend has many entrepreneurs and large corporations utilizing shipping containers for restaurant locations.From Chick-fil-a to Starbucks the environmental and structural advantage of using shipping containers is huge.I personally hope to see more people utilize this idea. Enjoy the video we made, along with the individual pictures below!

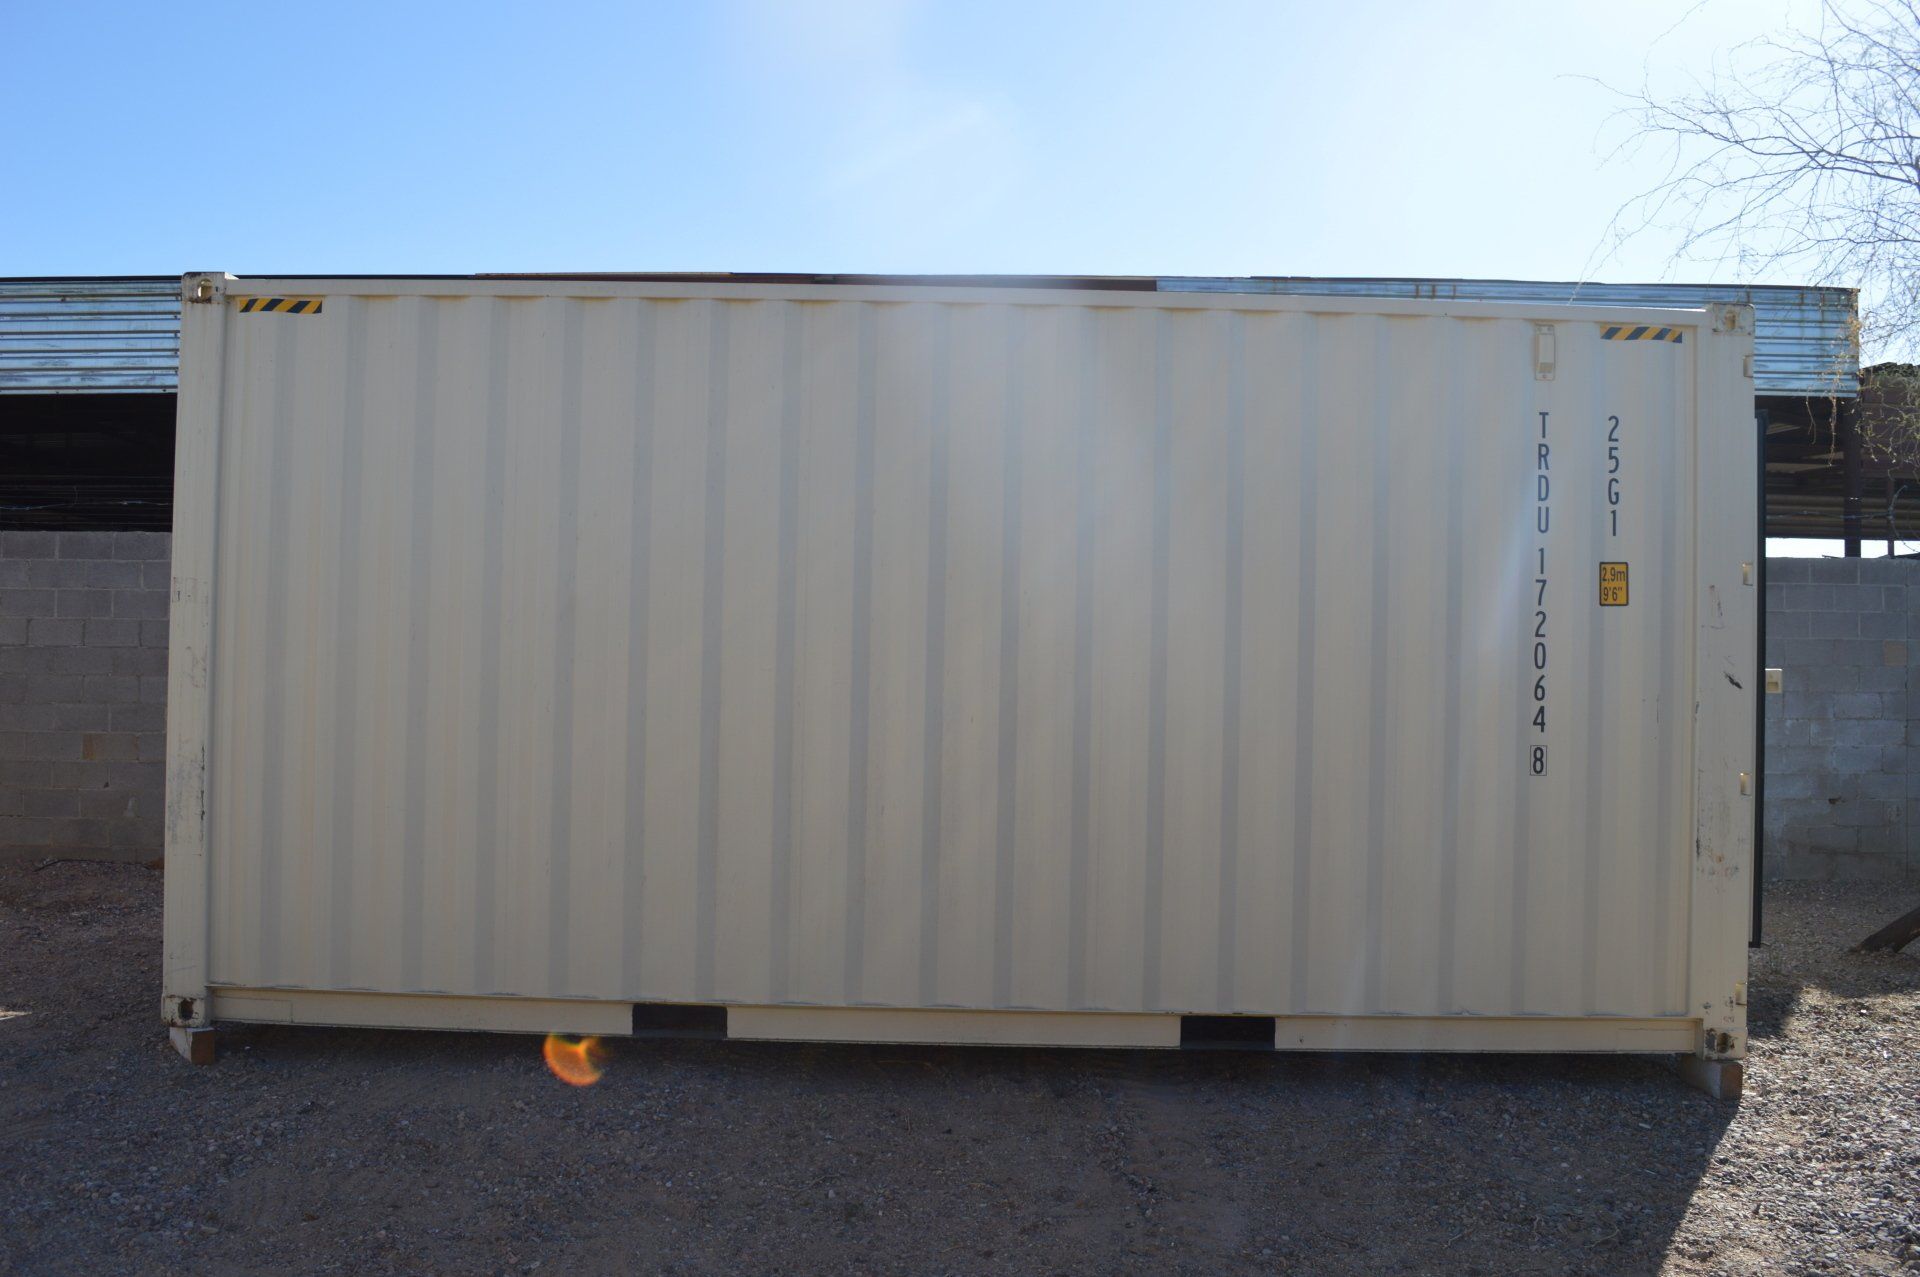
A deep dive into what a wwt (wind & watertight) cargo container is, what it is used for and what the grading system looks like.
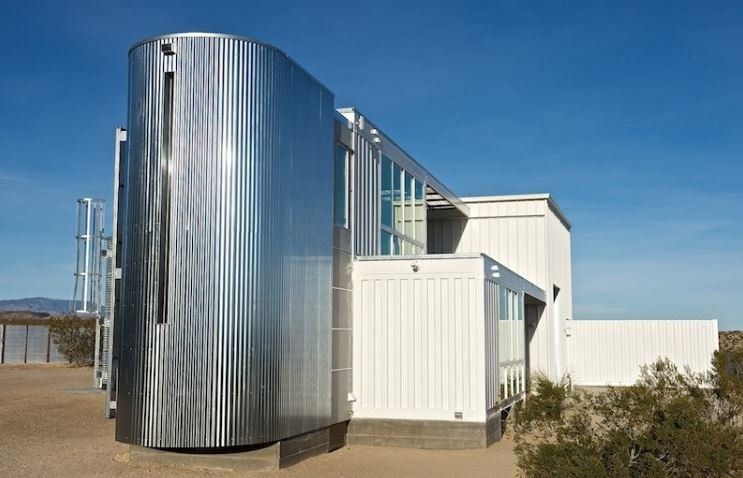
A prototype hybrid house, also known as the Tim Palen Studio at Shadow Mountain is the first repurposed container home permitted and built in the Mojave Desert. Based on the fuel-efficient Prius automobile engineering concept, the residence combines the energy and production efficiencies of diverse pre-engineered building and energy systems working together seamlessly to produce a smooth-running hybrid green machine for living.The residence is a prototype of 2nd generation pre-fab design and a kit-like housing product developed by ecotechbuild, the design-build subsidiary of ecotechdesign. It is constructed from 5-20′ long recycled cargo containers that were fabricated and finished in Los Angeles and then shipped to the site where they were erected and stacked 2 high in 15 minutes each. All site work, including foundations and utility placement was constructed at the remote desert site during container fabrication in Los Angeles.
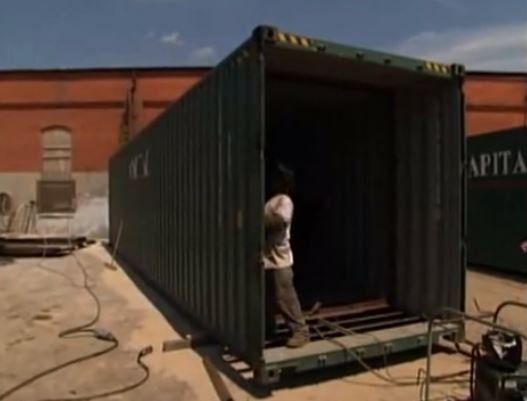
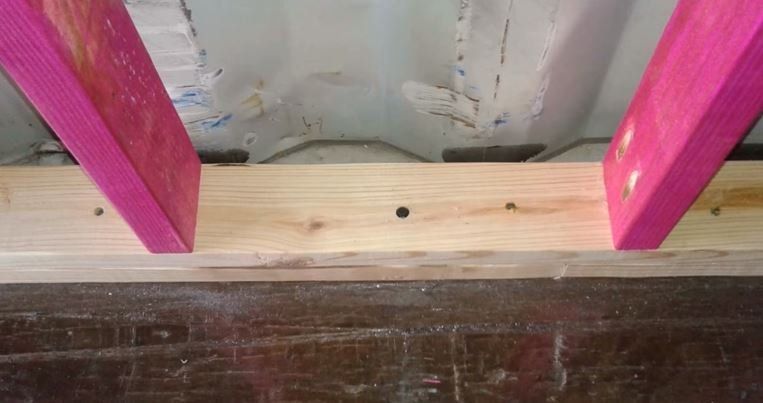
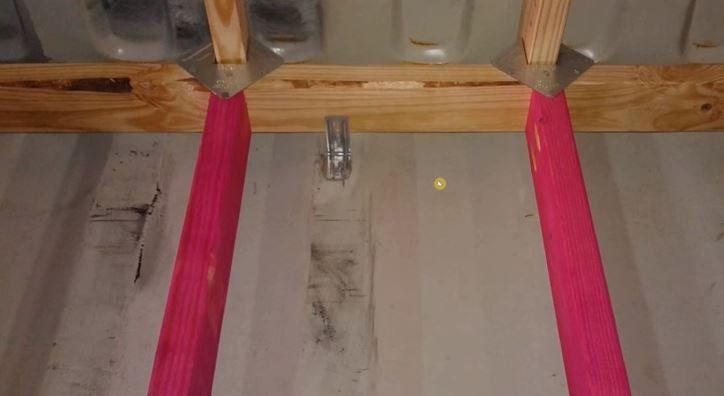
I found this awesome Bob Villa video where he interviews David Cross from TAW (Tampa Armature Works).They have an in depth conversation about shipping container construction. The conversation starts off by discussing the 700,000 abandoned shipping containers in United States ports. These containers are left behind due to the trade imbalance.Why not use the abandoned shipping containers as building blocks for construction?They do. He calls these structures Intermodal Steel Building Units (ISBU). They not only build homes out of these shipping containers but other structures with the use of I-beams and plasma torches to cut out sections of the container.The use of the I-Beams allow the engineer a lot of flexibility in what they choose to build with these sturdy boxes.He shows Bob something he calls the "Worlds Largest Toolbox,"