How to Install a Cargo Container Door
I found this step by step video on YouTube which I thought did a nice job of breaking down how to add a door to a cargo container.
If you are looking for a way to enter your cargo container from the side, you may find this blog useful. I summarized the video in the 12 steps below, but also added pictures below the text breaking down the video above. The video was produced by Quickfit Container Accessories and runs three and a half minutes. I hope this video helps you with your Do-It-Yourself Cargo Container modification.
Step 1: Measure and Record the Inner Frame of the Door.
Step 2: Measure and Mark the Cargo Container for Cutting.
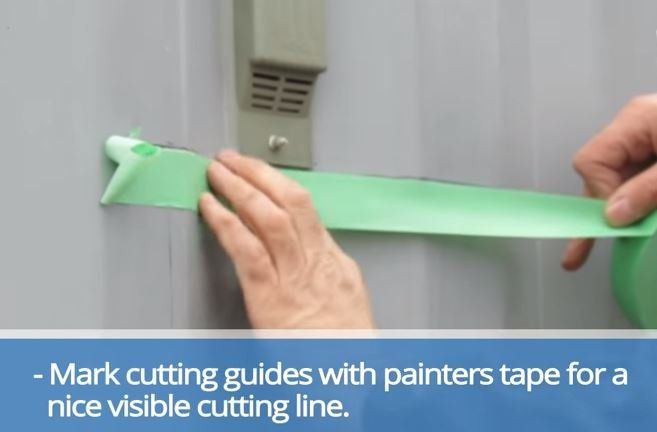
Step 3- Mark cutting guides with painters tape
Step 4- Proceed with cutting the door hole with the tool of your choice.
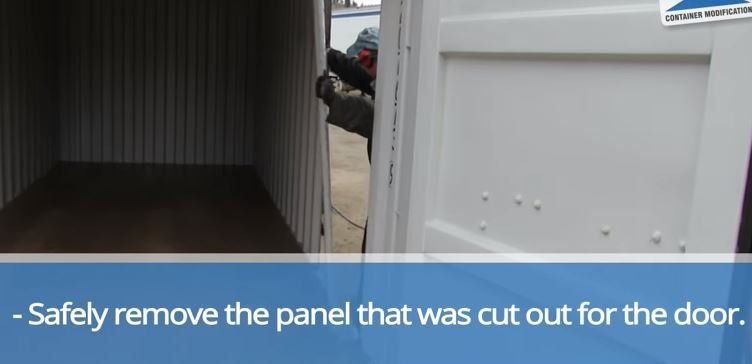
Step 5- Safely remove the panel that was cut out for the door.
Step 6- With the tool of your choice smooth the edges into a flat surface to remove any burs or sharp edges.
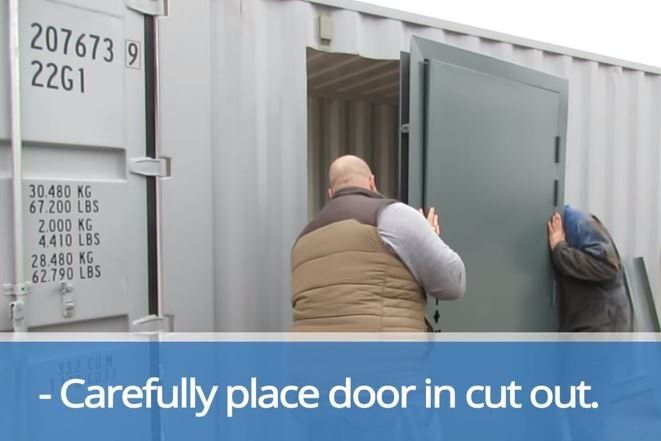
Step 7- Place the door your purchased in the cut out.
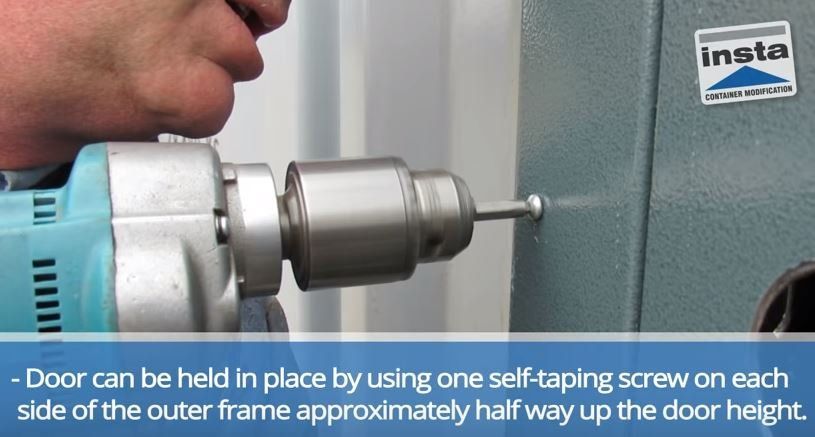
Step 8- Screw door in place with self-taping screws.
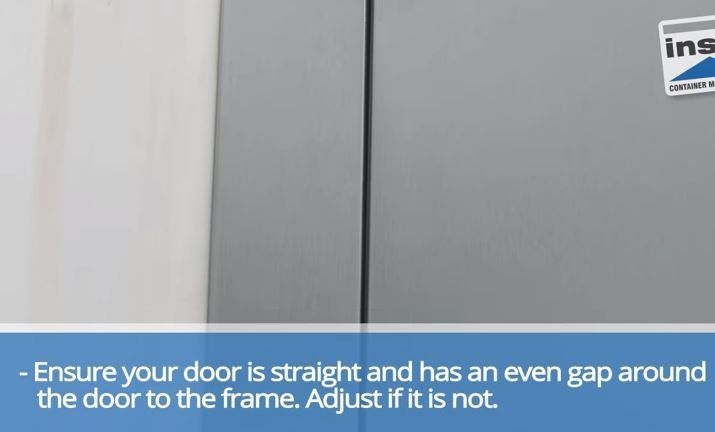
Step 9- Ensure the door is straight and has an even gap around the frame.
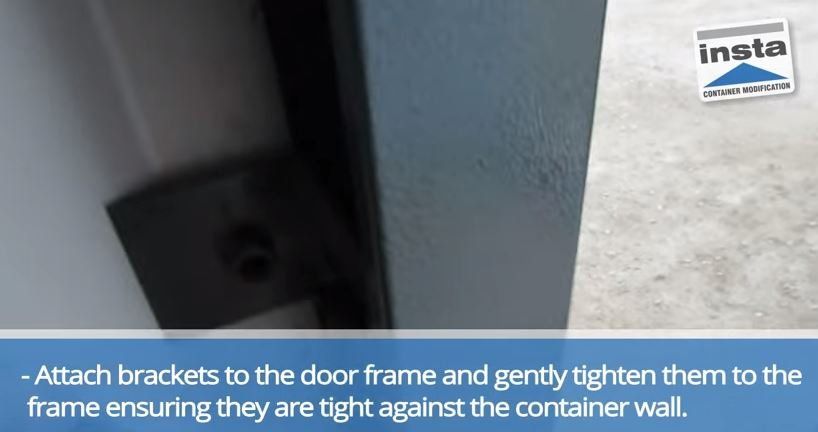
Step 10- Attach brackets to the door frame and ensure they are tight to the wall.
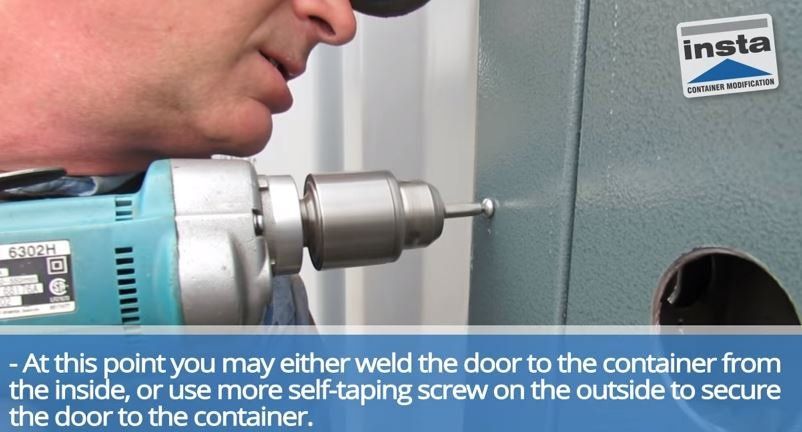
Step 11- Weld the door to the inside of the container wall, or use more self-taping screws around the frame.
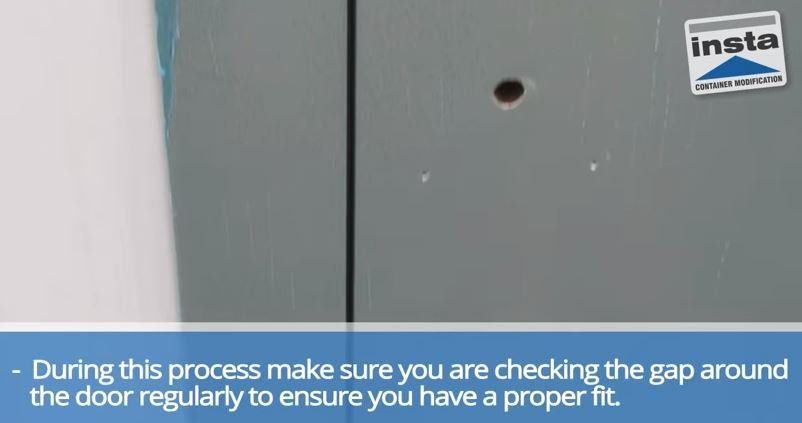
Step 12- Check your work to make sure you have a proper fit.
See step by step pictures below: